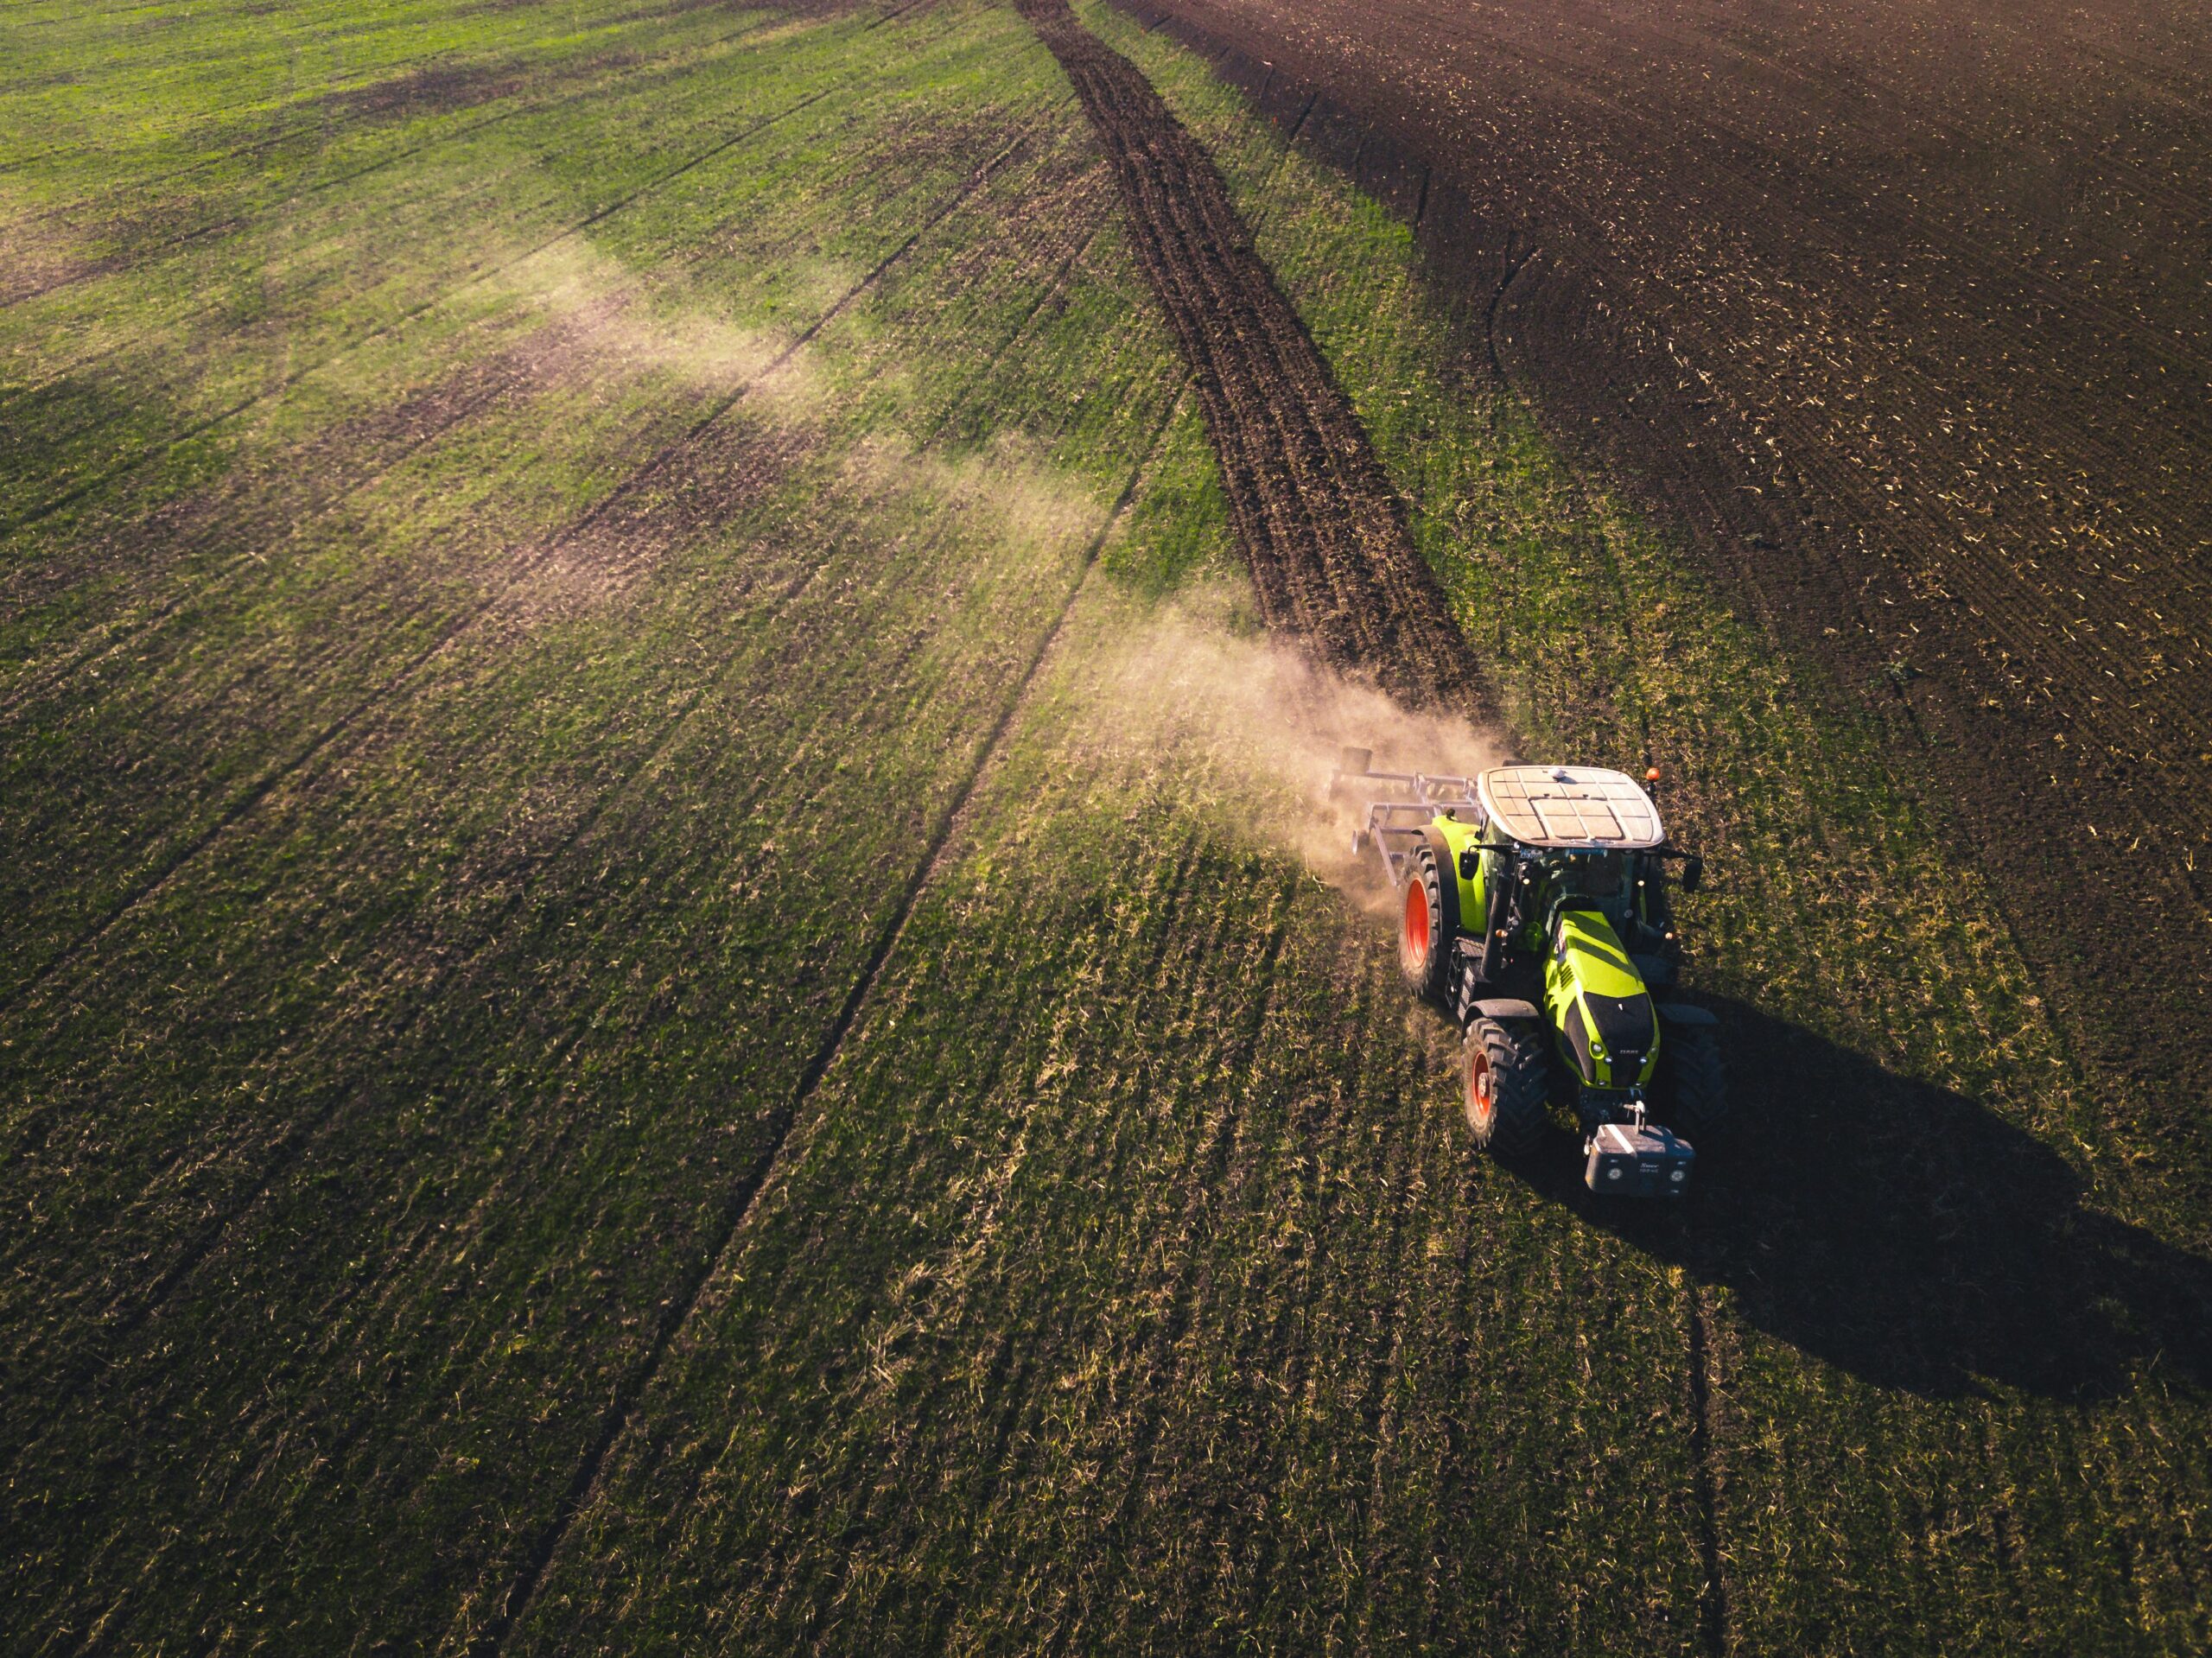
Preparing land with a tractor is an essential task in modern farming, as it sets the stage for successful crop production. The process begins with a thorough assessment of the land, where farmers evaluate soil conditions, moisture levels, and the presence of any debris like rocks or branches. This initial assessment is crucial because working with soil that is too wet, too dry, or cluttered with debris can lead to inefficient tillage and potential damage to the tractor and its implements. Ensuring that the soil is in the right condition for tillage helps to preserve its structure and fertility, making it more receptive to seeds and promoting better crop growth.
Preparing land for cultivation using a power tiller involves different techniques depending on whether it is the dry season or the monsoon season. Each season presents unique challenges that require specific approaches to ensure the land is ready for planting. Below is a detailed guide on how to prepare land for cultivation with a power tiller during both dry and monsoon seasons.
Dry Season Land Preparation
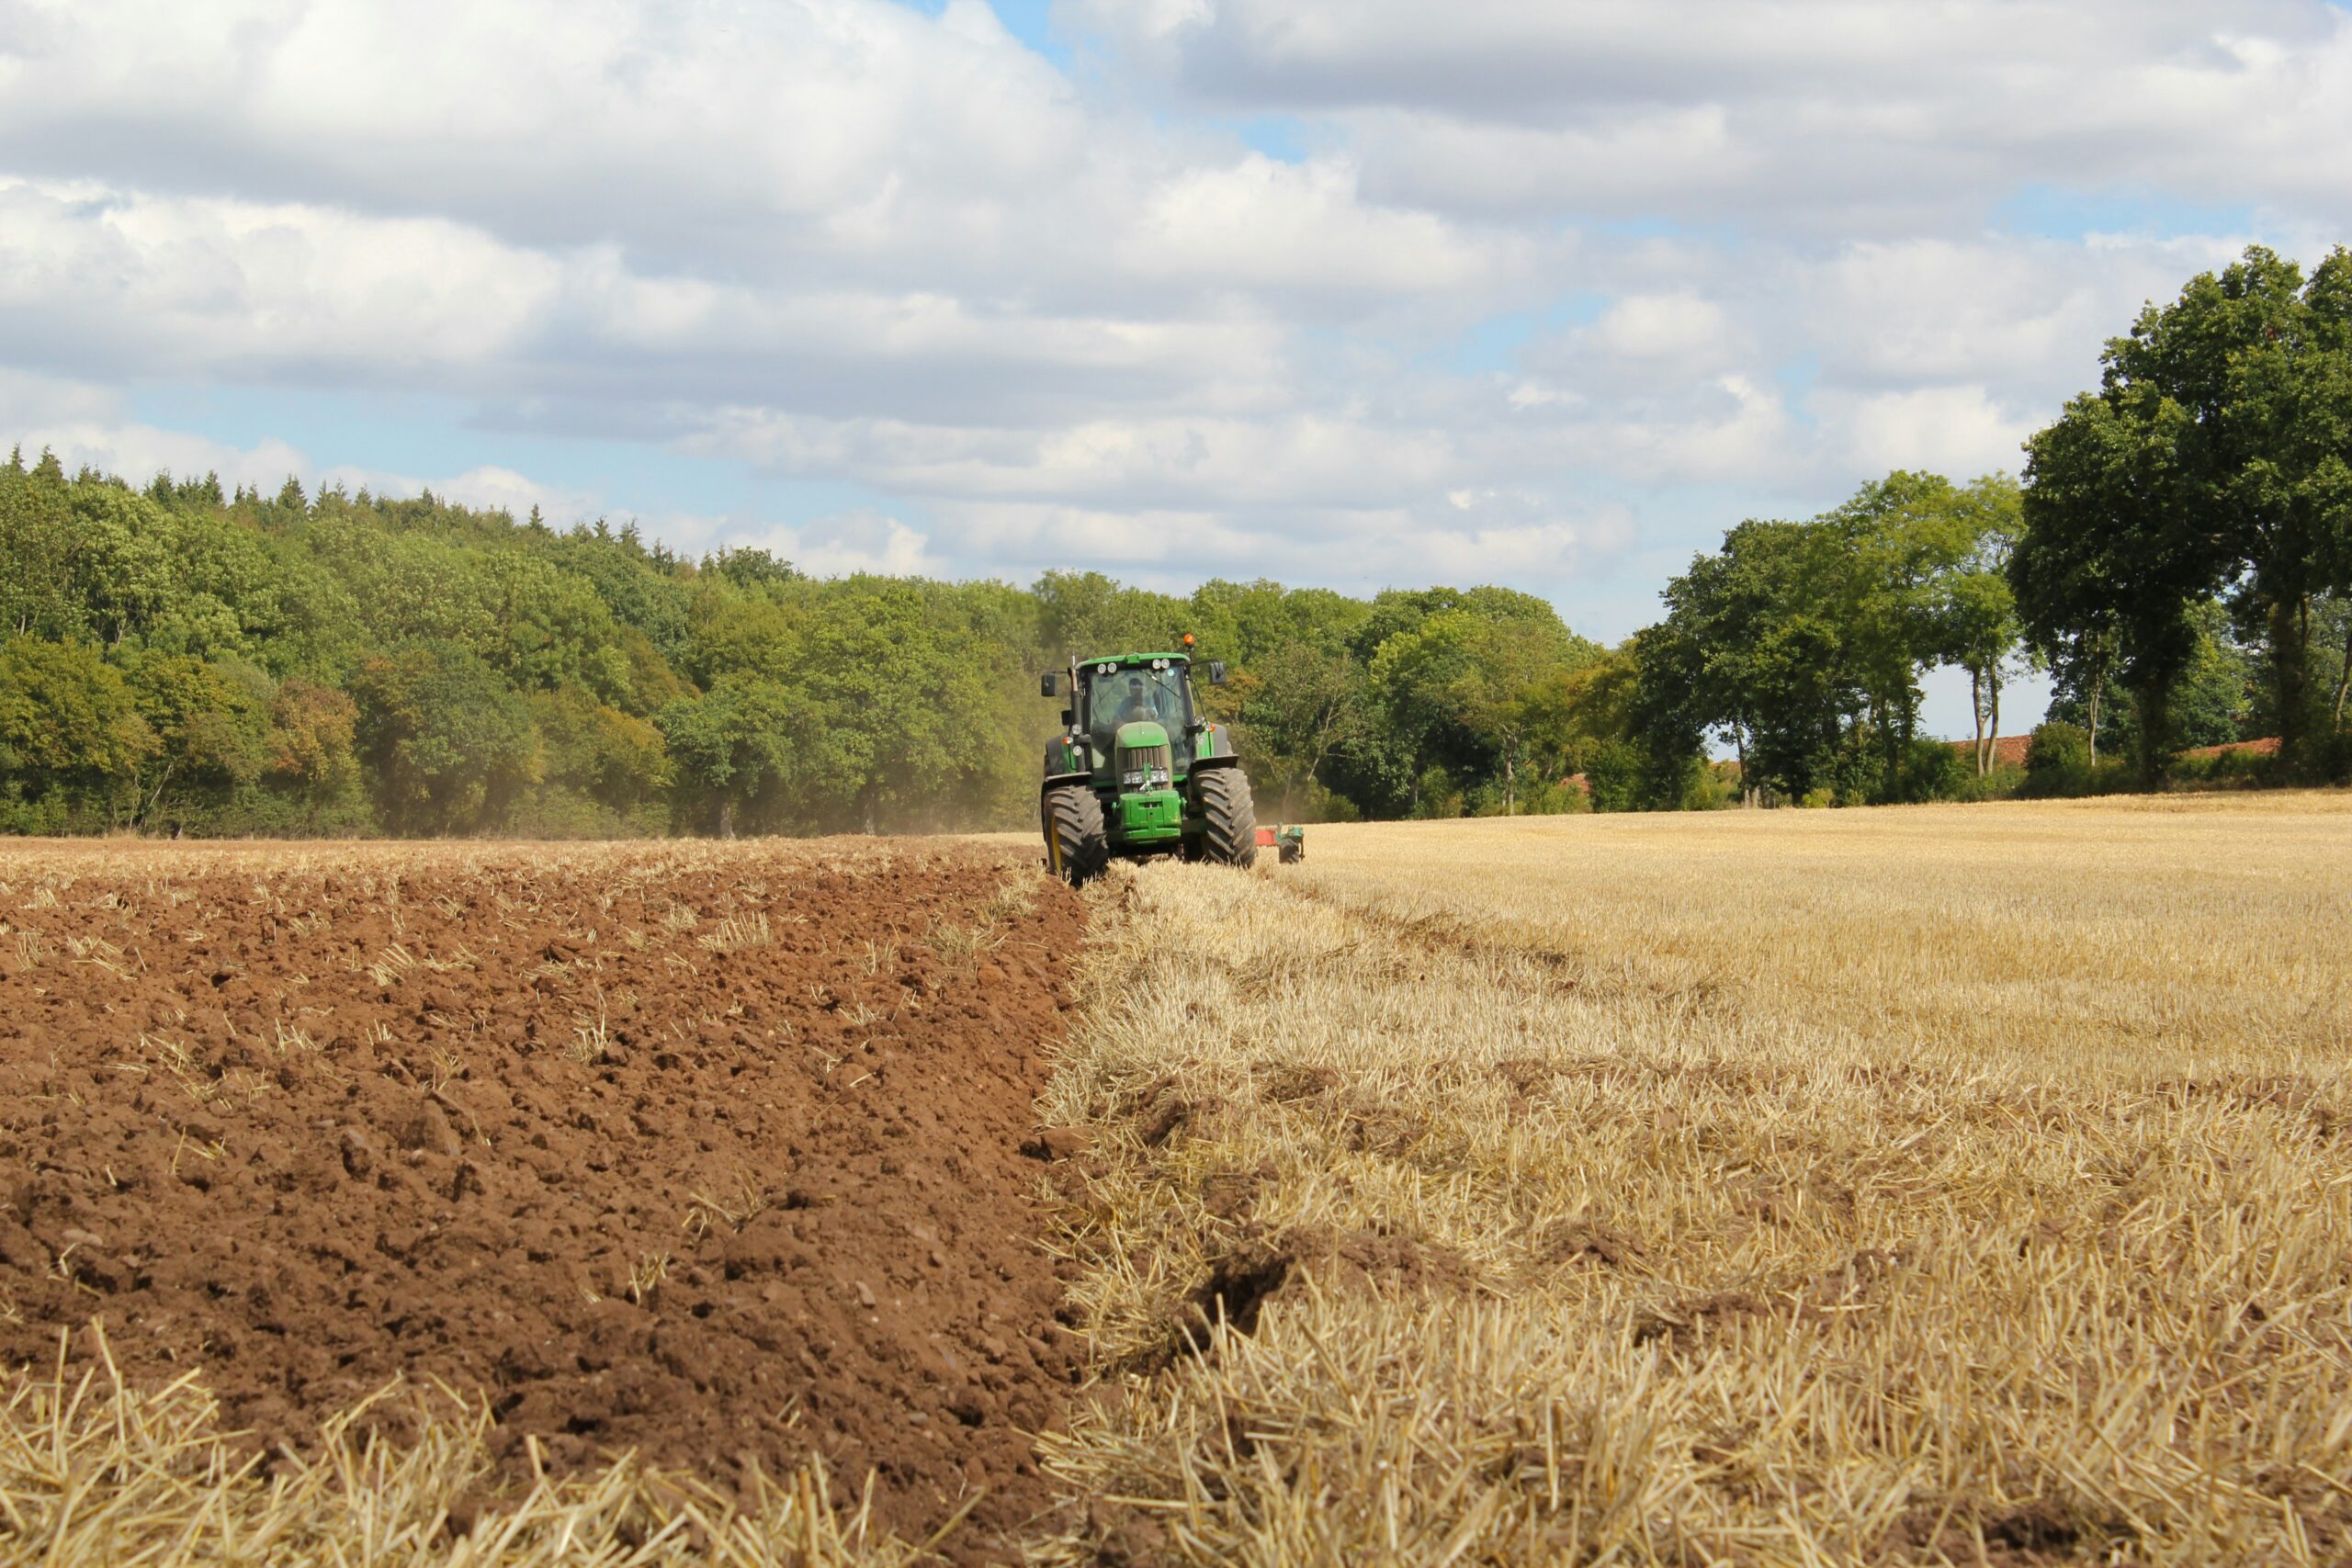

During the dry season, the soil is typically harder and more compact, making it more challenging to till. However, with proper techniques, you can effectively prepare the land for cultivation.
Clearing the Land
- Remove Debris: Start by clearing the field of any debris, such as rocks, branches, and weeds. This is essential to prevent damage to the power tiller and ensure smooth operation.
- Burn Residue (if applicable): In some regions, farmers may burn crop residues to clear the field quickly, though this practice should be done with caution and in accordance with local regulations to avoid environmental harm.
Initial Tilling
- Watering the Soil (if needed): If the soil is too hard, lightly irrigate the field to soften it. This will make it easier for the power tiller to penetrate the soil. Be careful not to overwater, as the goal is to moisten the soil just enough to aid tilling.
- First Pass Tilling: Attach the appropriate tiller blades and make the first pass over the field. The first pass should be shallow, typically around 4-6 inches deep, to break the surface crust and loosen the soil.
- Cross Tilling: After the first pass, till the field again in a perpendicular direction to the initial pass. This cross-tilling technique ensures thorough soil breakdown and creates a finer tilth, which is ideal for seedbed preparation.
Adding Soil Amendments
- Soil Testing: Conduct a soil test to determine the pH and nutrient levels. Based on the results, add the necessary amendments such as lime, organic compost, or fertilizers to improve soil fertility.
- Incorporating Amendments: Use the power tiller to incorporate the soil amendments evenly across the field. This ensures that the nutrients are well-distributed and available to the crops.
Final Tilling and Leveling
- Fine Tilling: Perform a final pass with the power tiller to create a smooth and even seedbed. This step is crucial for uniform seed planting and germination.
- Land Leveling: If necessary, use a leveling tool or a drag harrow attached to the power tiller to even out the field. Proper leveling helps with water distribution and prevents erosion during irrigation.
Monsoon Season Land Preparation


The monsoon season brings heavy rainfall, which can make land preparation more challenging due to waterlogged soils and the risk of soil erosion. However, with careful management, you can prepare the land effectively.
Drainage Management
- Create Drainage Channels: Before starting tillage, ensure proper drainage by creating channels or ditches around the field. This helps to prevent waterlogging and allows excess rainwater to flow away from the field.
- Check for Waterlogging:Identify low-lying areas prone to waterlogging and consider raising the soil level in these spots or improving drainage further.
Timing the Tillage
- Wait for Optimal Soil Moisture: Avoid tilling immediately after heavy rains, as the soil may be too wet and prone to compaction. Wait until the soil is moist but not saturated, which usually occurs a few days after rainfall.
- First Pass Tilling: Once the soil is at the right moisture level, begin with the first pass using the power tiller. Similar to the dry season, start with a shallow pass to break the surface and mix the topsoil.
Weeding and Pest Control
- Remove Weeds:The monsoon season can encourage rapid weed growth. Use the power tiller to uproot weeds during the first tilling pass. This helps reduce competition for nutrients when crops are planted.
- Integrated Pest Management (IPM): Consider applying organic pest control methods if pests are present, as the warm, wet conditions can promote pest outbreaks.
Incorporating Organic Matter
- Green Manure Crops: If you have planted green manure crops during the previous season, now is the time to incorporate them into the soil. Use the power tiller to mix these crops into the soil, enriching it with organic matter.
- Fertilizer Application:Apply organic or chemical fertilizers as recommended by soil tests and till them into the soil using the power tiller.
Final Preparation
- Final Tilling:After incorporating amendments and ensuring the soil is at the right moisture level, perform a final tilling pass to create a fine, well-aerated seedbed.
- Check for Proper Drainage: After tilling, ensure that the drainage channels are still intact and capable of handling heavy rains during the monsoon. Proper drainage will prevent waterlogging and protect the newly prepared seedbed.
Preparing land with a power tiller in both dry and monsoon seasons requires careful consideration of soil conditions, moisture levels, and environmental factors. During the dry season, focus on managing soil hardness and incorporating amendments to enhance fertility. In the monsoon season, drainage management and timing are crucial to avoid soil compaction and waterlogging. By adapting your tillage practices to the specific challenges of each season, you can ensure your land is optimally prepared for planting, leading to healthier crops and better yields.


