Wheat is a staple food crop worldwide, and cultivating it successfully requires careful attention to each stage, from soil preparation to harvesting. Here’s a step-by-step guide on how to cultivate wheat for a high-yield, quality harvest.
Soil Preparation
Preparing the soil is essential for successful wheat growth, as it ensures adequate nutrient availability and promotes root health.
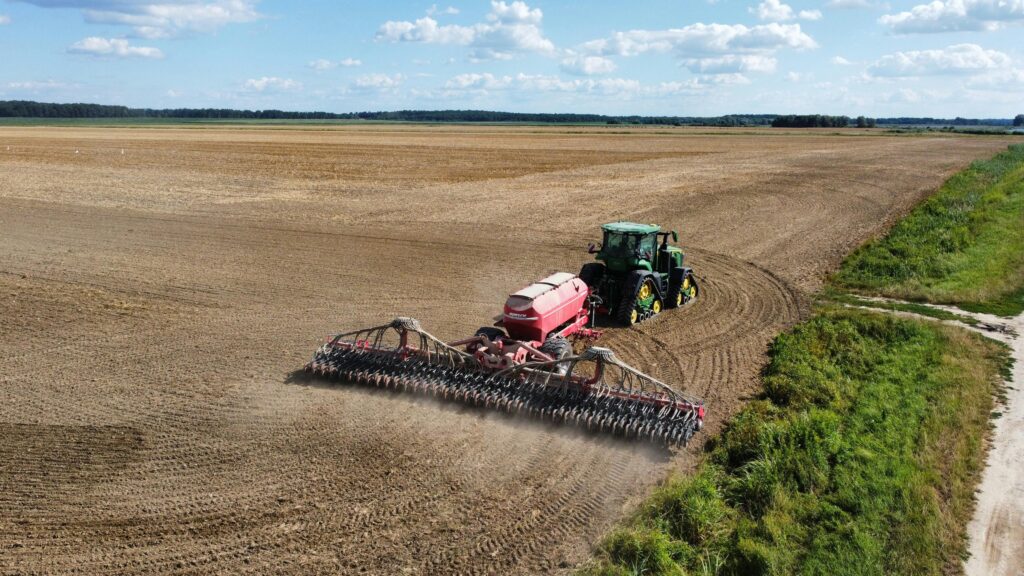
- Plowing: Start by plowing the field to break up the soil and allow air, water, and nutrients to penetrate effectively. Deep plowing (around 6-8 inches) helps loosen compacted soil and remove weeds.
- Leveling: After plowing, level the soil to ensure even distribution of seeds and water, which is crucial for uniform growth.
- Fertilization: Adding organic compost or chemical fertilizers high in nitrogen, phosphorus, and potassium enriches the soil. A soil test can help determine exact nutrient requirements, ensuring optimal growth.
Seed Selection
Choosing the right seed variety is crucial to the crop’s success. Factors like climate, soil type, and local pest resistance should guide your selection.
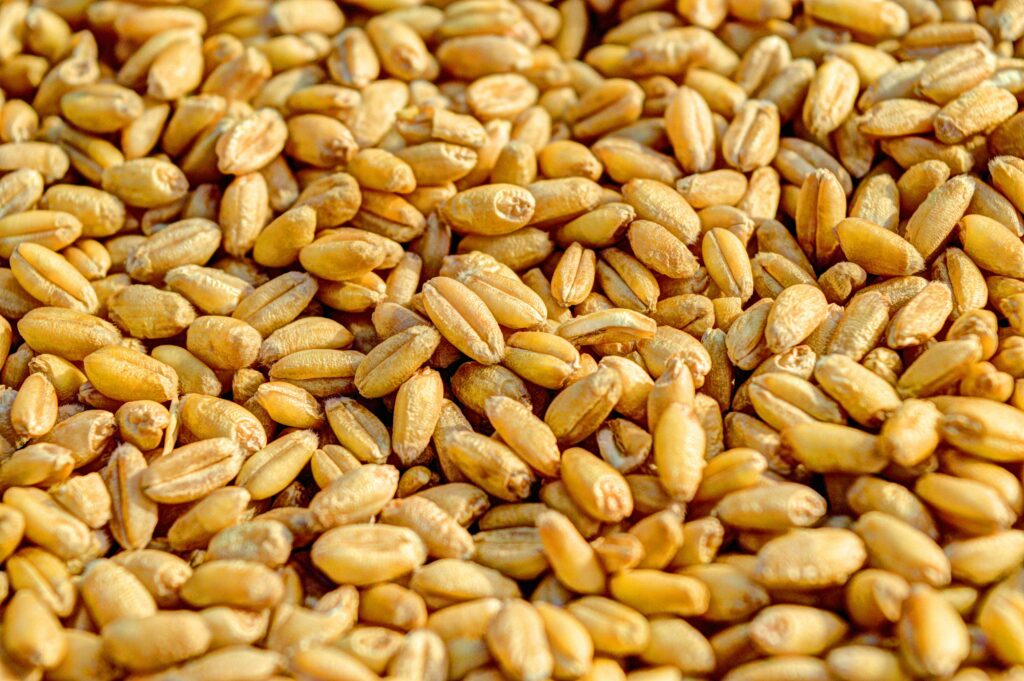
- Common Varieties: Some popular types include Hard Red Winter, Hard Red Spring, and Durum wheat, each suited to specific climates and soil conditions.
- Seed Treatment: Seeds can be treated with fungicides or insecticides to protect against soil-borne diseases and pests during the early stages.
Sowing (Planting)
The timing and method of sowing are critical for wheat germination and growth.
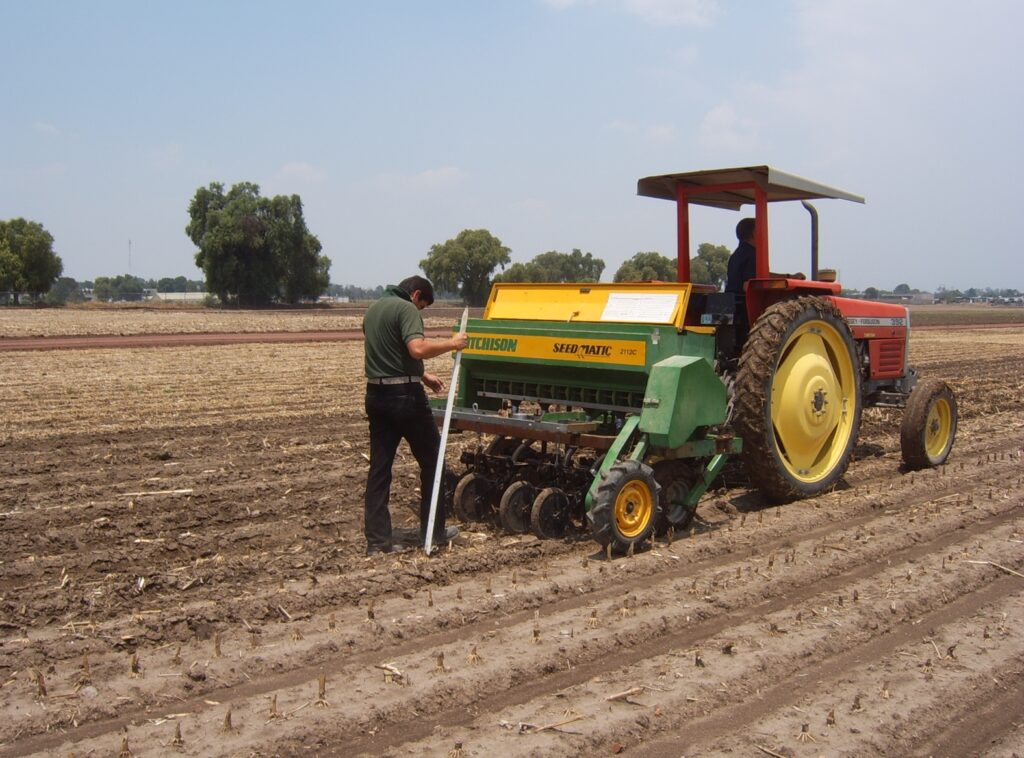
- Time of Sowing: Wheat is usually sown in late fall for winter varieties and in early spring for spring varieties. The soil temperature should be around 12-18°C (54-64°F) for successful germination.
- Sowing Method: Use either broadcasting (scattering seeds by hand) or drilling (planting seeds in rows) methods. Drilling is often preferred as it provides better control over seed depth and spacing, leading to uniform growth.
- Spacing and Depth: Seeds should be sown at a depth of 1.5-2 inches, with around 6-8 inches of space between rows to allow ample room for root development.
Irrigation and Water Management
Wheat’s water requirements vary by growth stage, with some phases needing more water than others.
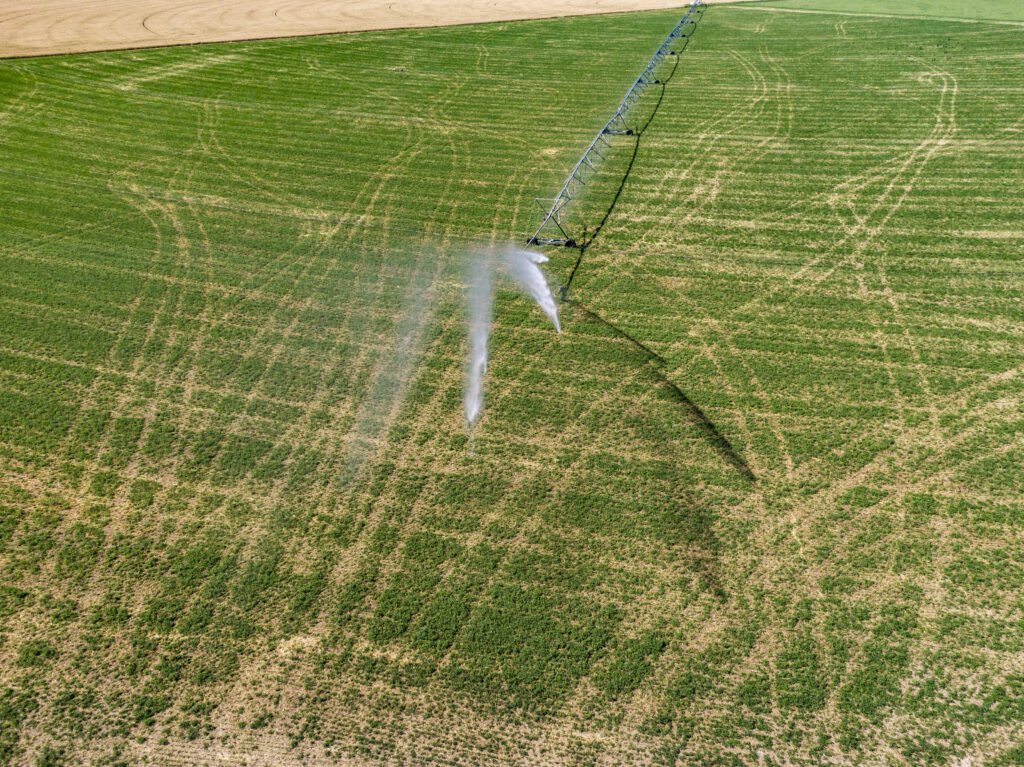
- Germination and Tillering: Ensure moist soil during germination and tillering, as these early stages require steady moisture for shoot and root establishment.
- Critical Stages for Watering: Wheat needs water especially during the booting, flowering, and grain-filling stages. Ensure consistent irrigation or rainfall to promote healthy growth.
- Avoid Overwatering: Excess water can lead to waterlogging, which may damage roots and reduce yield. Proper drainage and careful irrigation management are essential.
Weed and Pest Control
Weeds and pests can significantly impact wheat growth and yield if not managed properly.
- Weed Control: Weeds compete for nutrients and water, so it’s essential to manage them. Use mechanical methods like hoeing or apply herbicides specifically designed for wheat fields.
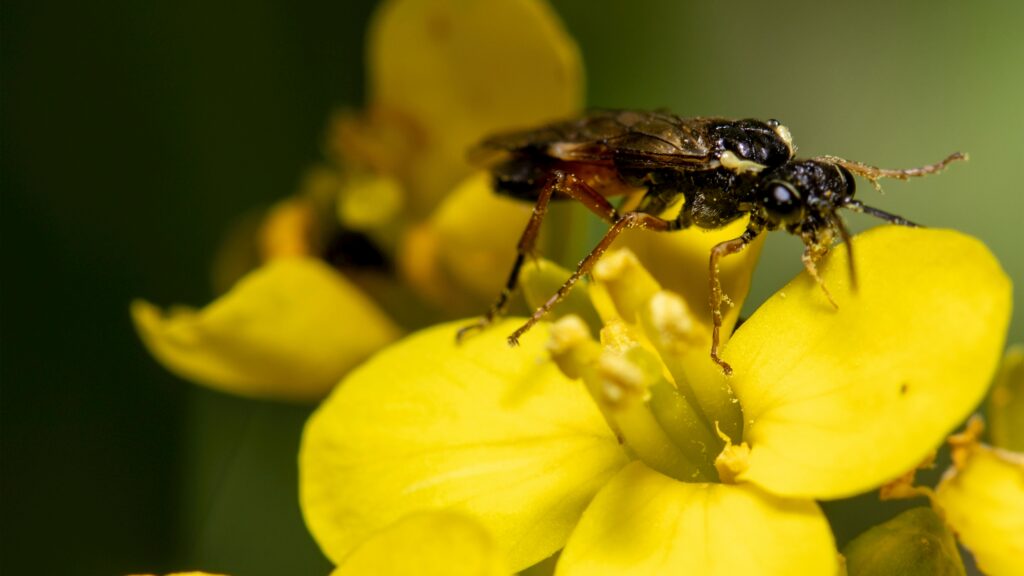
- Pest Management: Common pests like aphids, armyworms, and wheat stem sawflies can harm the crop. Integrated Pest Management (IPM) techniques, including crop rotation and biological control, are effective in reducing pest populations.
Fertilizer Application
To support robust growth and maximize yield, additional fertilization is often needed after planting.
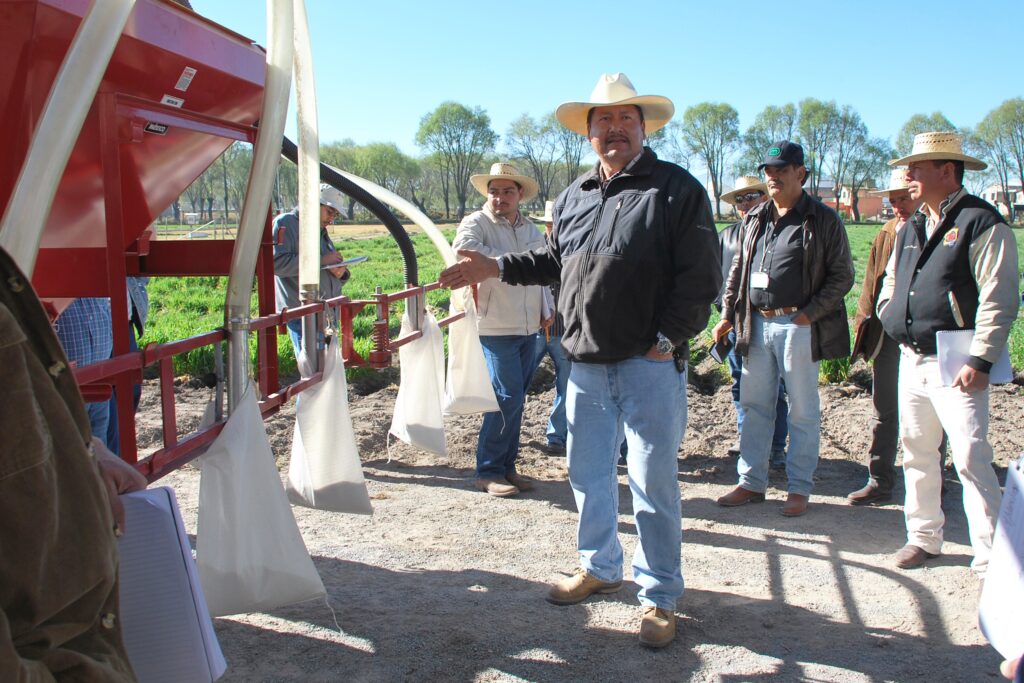
Photo credit: X. Fonseca/CIMMYT.
For more information, see CIMMYT’s blog story at: http://blog.cimmyt.org/index.php/2010/03/wheat-cropping-course/.
- Top Dressing: Apply nitrogen-rich fertilizers as a top dressing during the early stages to promote leaf and stem growth.
- Grain-Filling Stage: Applying fertilizers containing phosphorus and potassium during the grain-filling stage can improve grain size and quality.
Monitoring and Disease Control
Regular monitoring helps identify issues early, allowing for timely intervention.
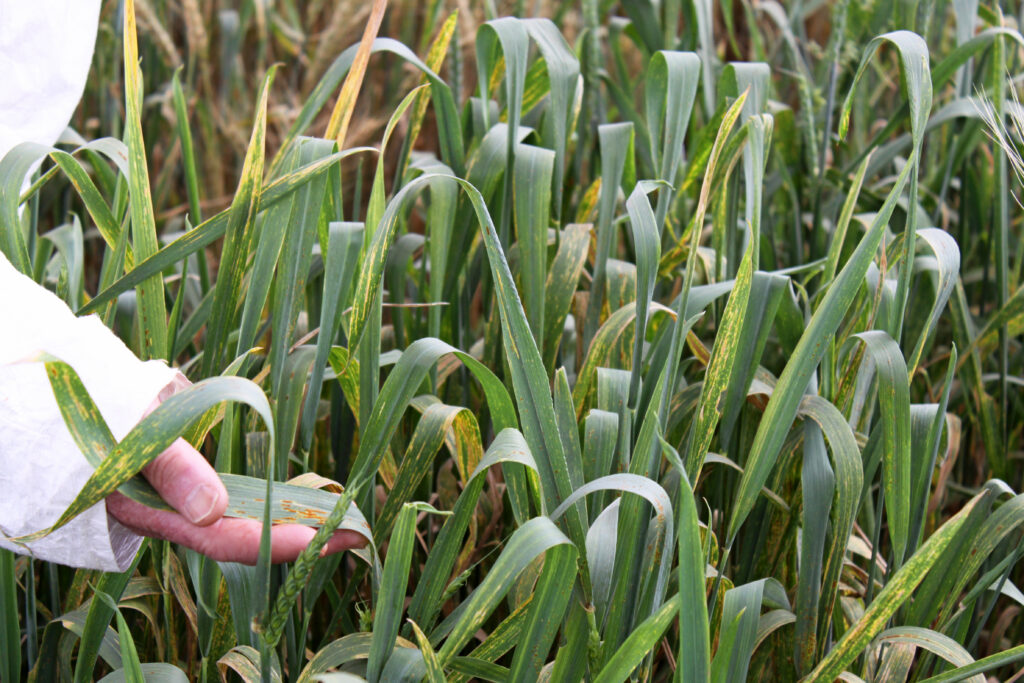
For more information on the disease, see CIMMYT’s Wheat Doctor: http://wheatdoctor.cimmyt.org/en/pests-a-diseases/list/122?task=view.
For more on CIMMYT’s ongoing work on Ug99, see the following e-news stories:
2010, “Planting for the future: New rust resistant wheat seed on its way to farmers”:
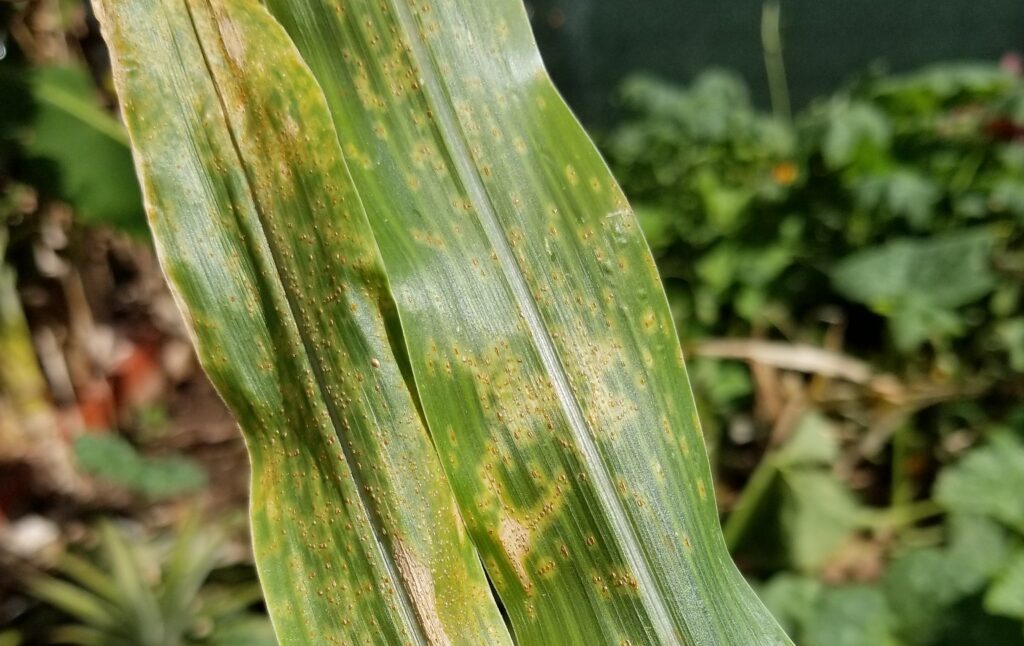
- Common Diseases: Rusts, powdery mildew, and smut are common diseases affecting wheat. Early detection and treatment using fungicides or resistant varieties help prevent spread.
- Temperature and Moisture Management: High humidity and temperature fluctuations can increase disease risk. Using fungicides when necessary can help protect the crop.
Harvesting
Harvesting at the right time is essential for maximum yield and grain quality.
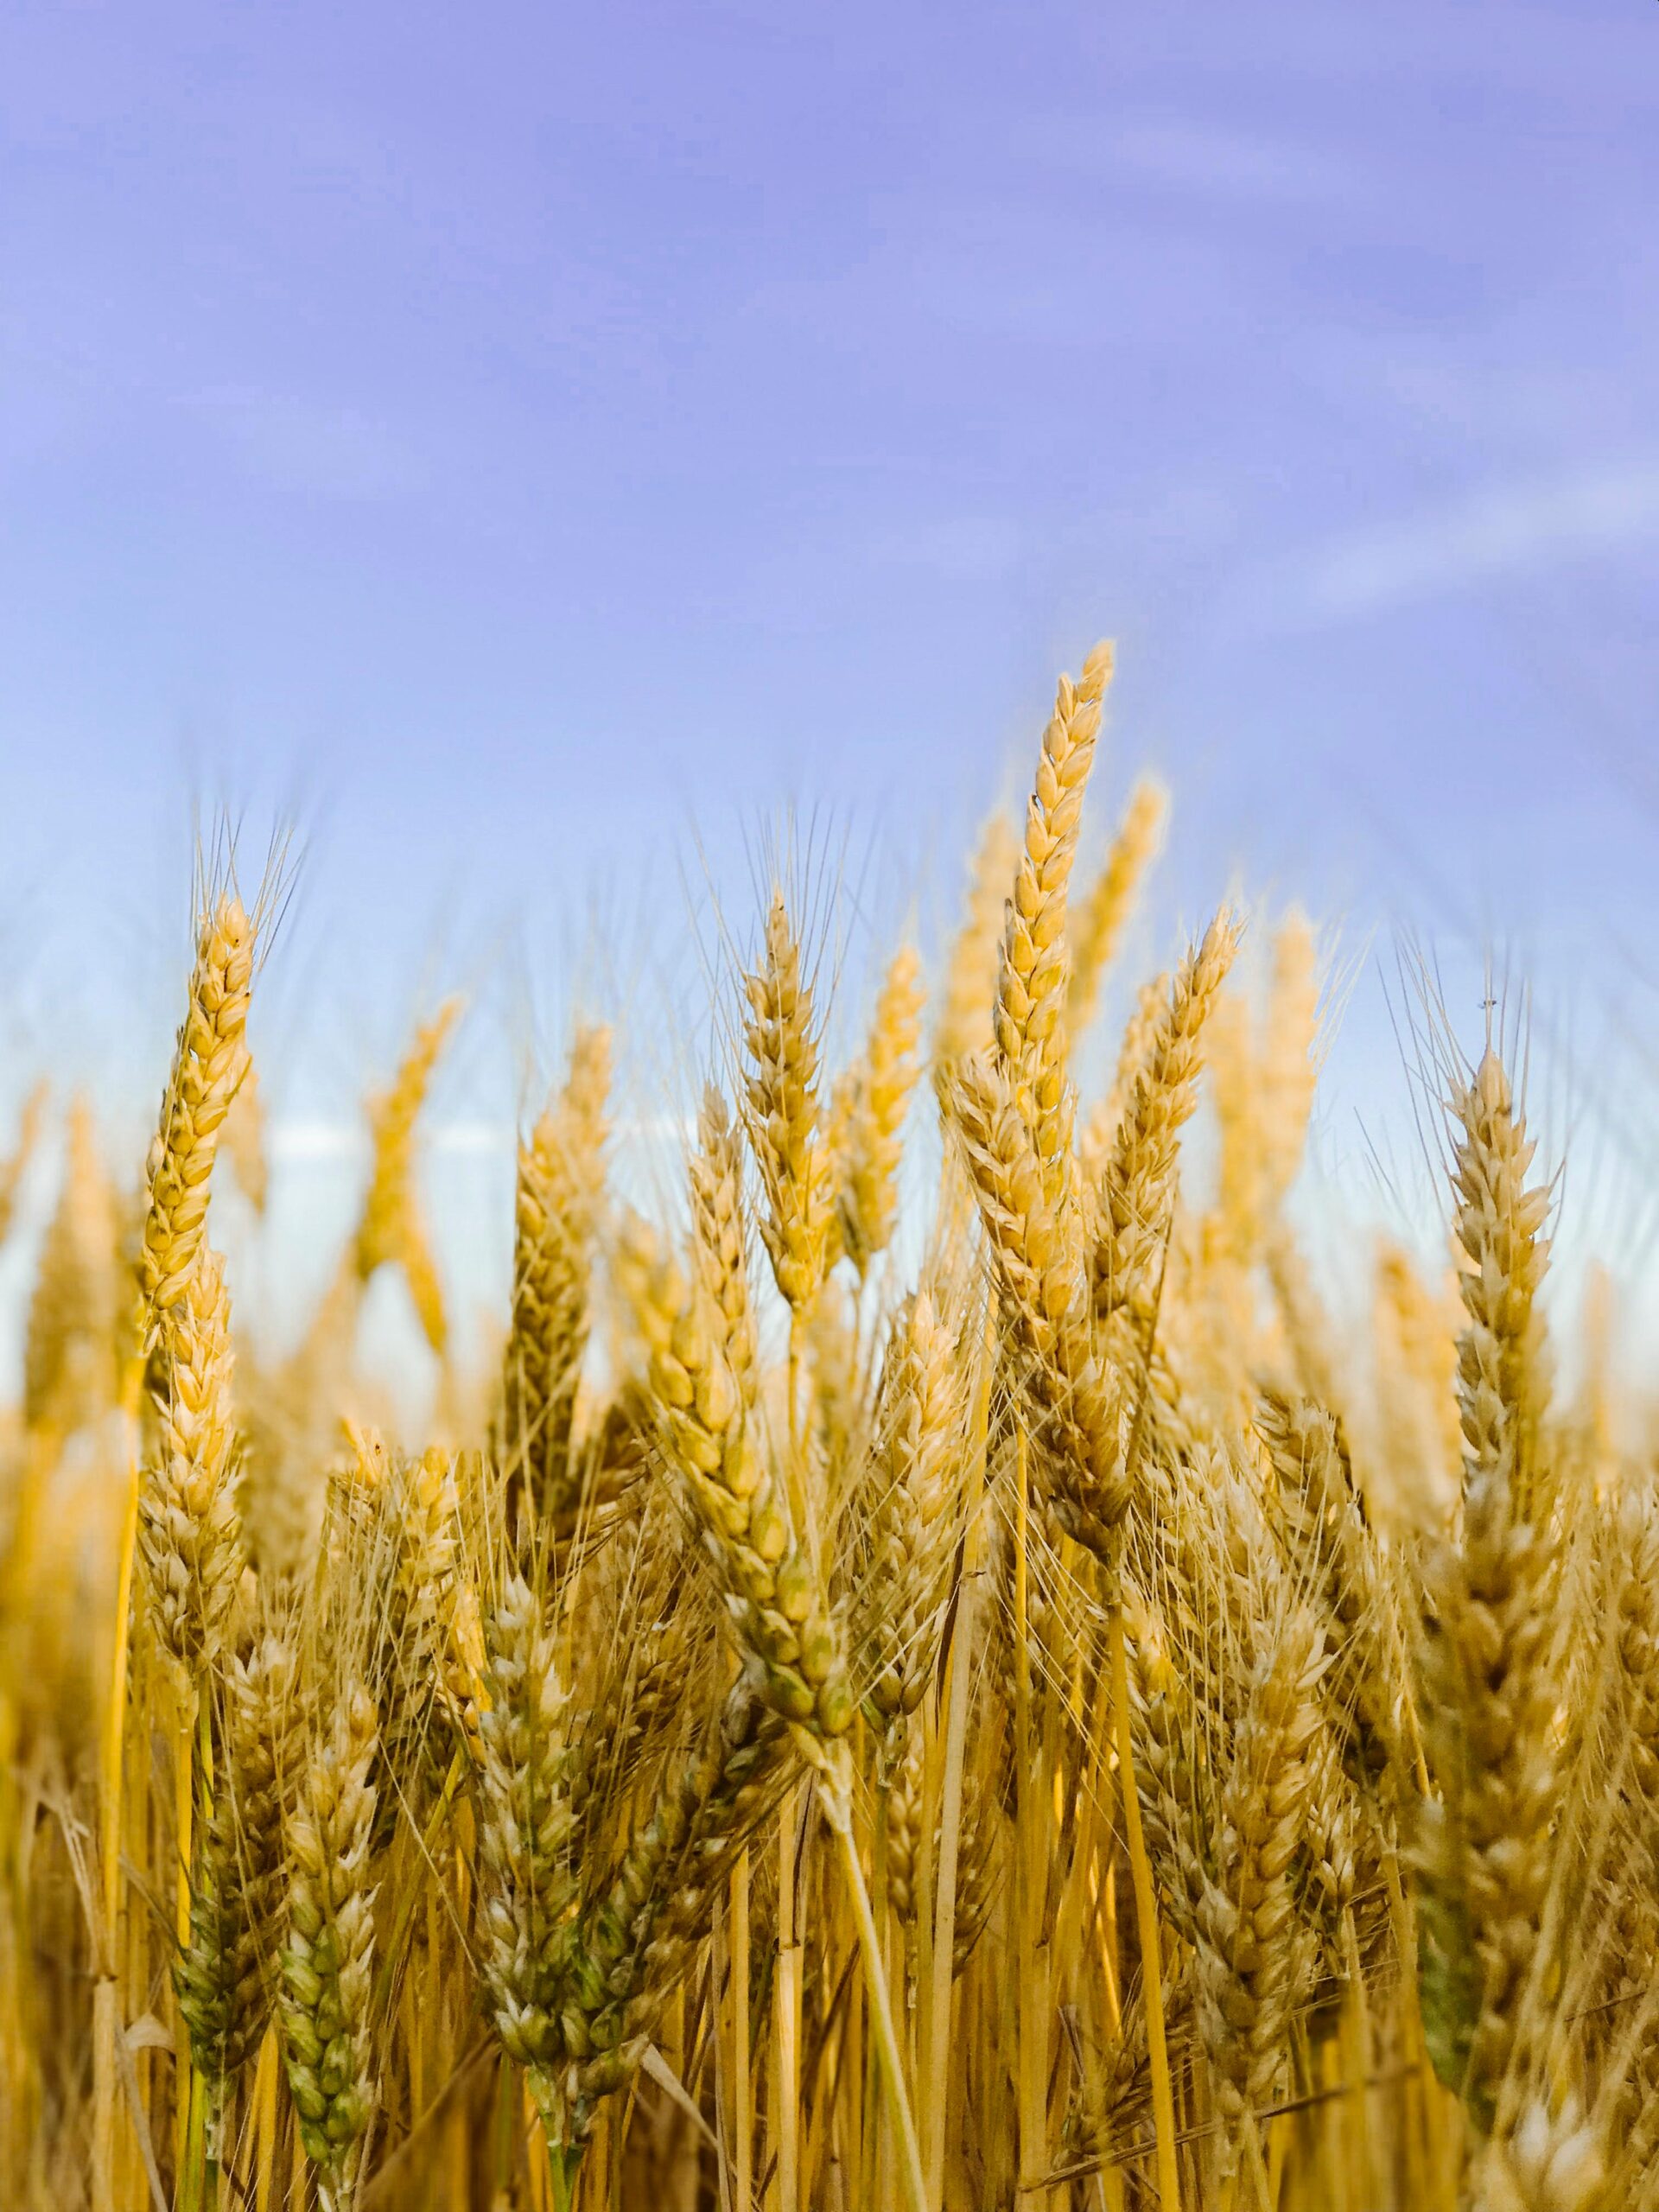
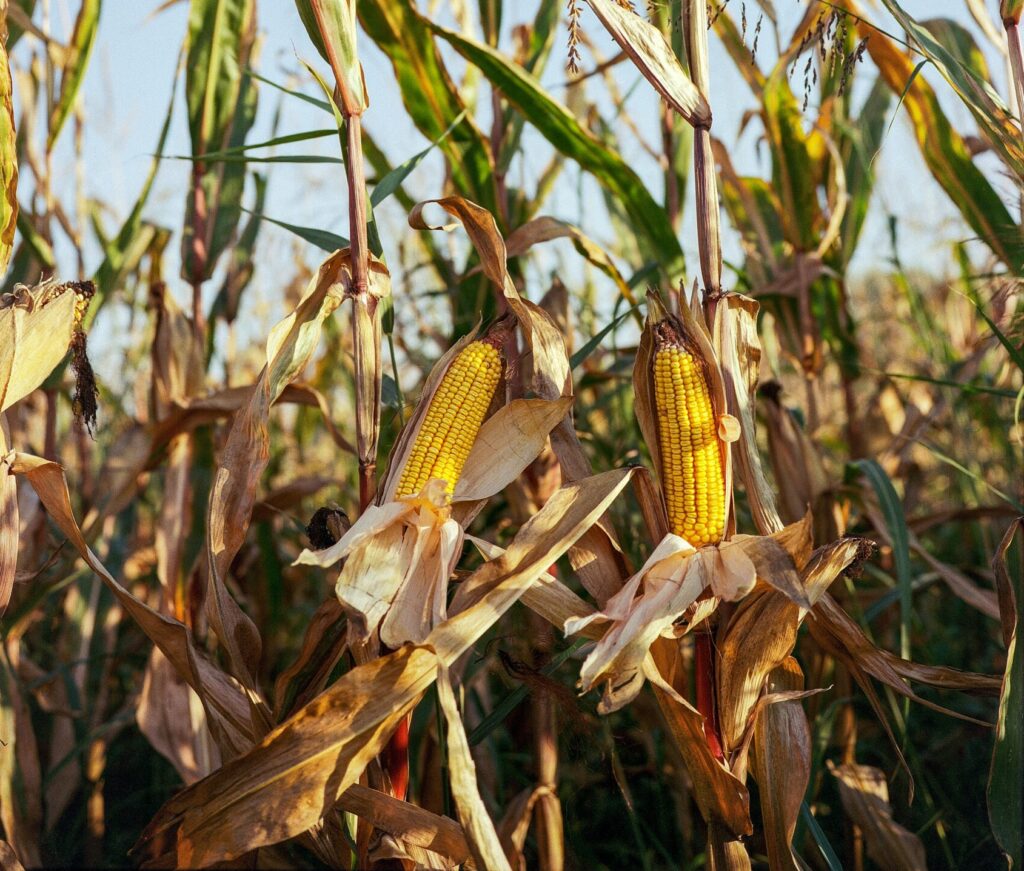
- Timing: Wheat is usually ready for harvest when it turns golden-brown, and the grains have a moisture content of around 14-15%. Delaying harvest may result in losses due to shattering or weather damage.
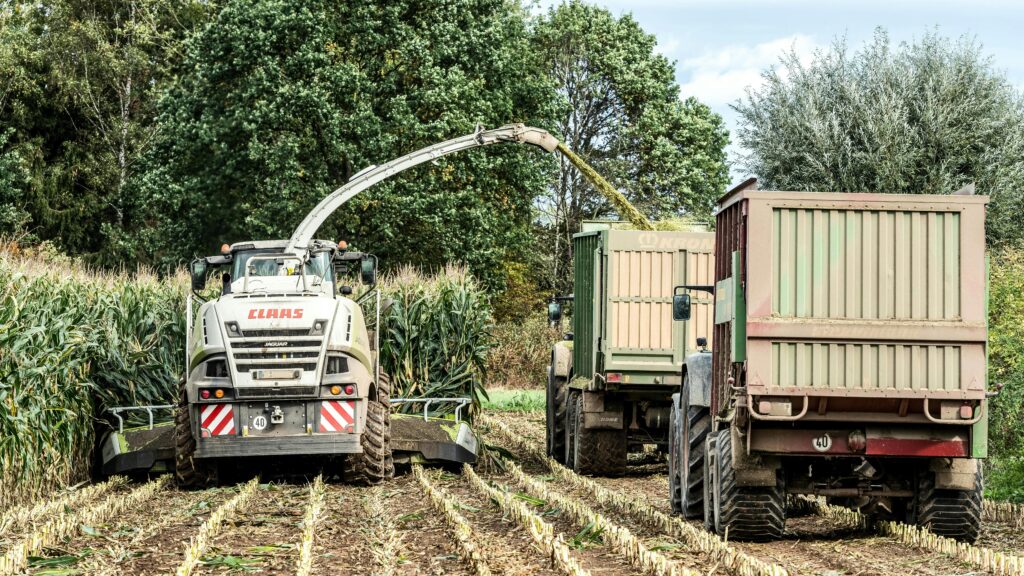
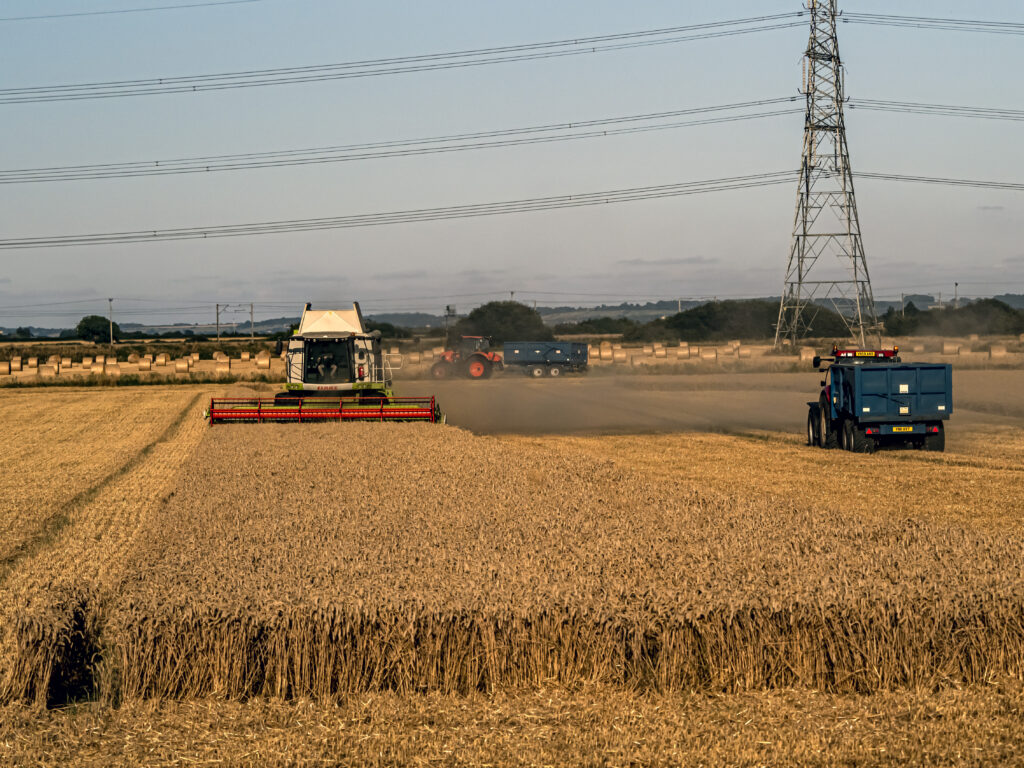
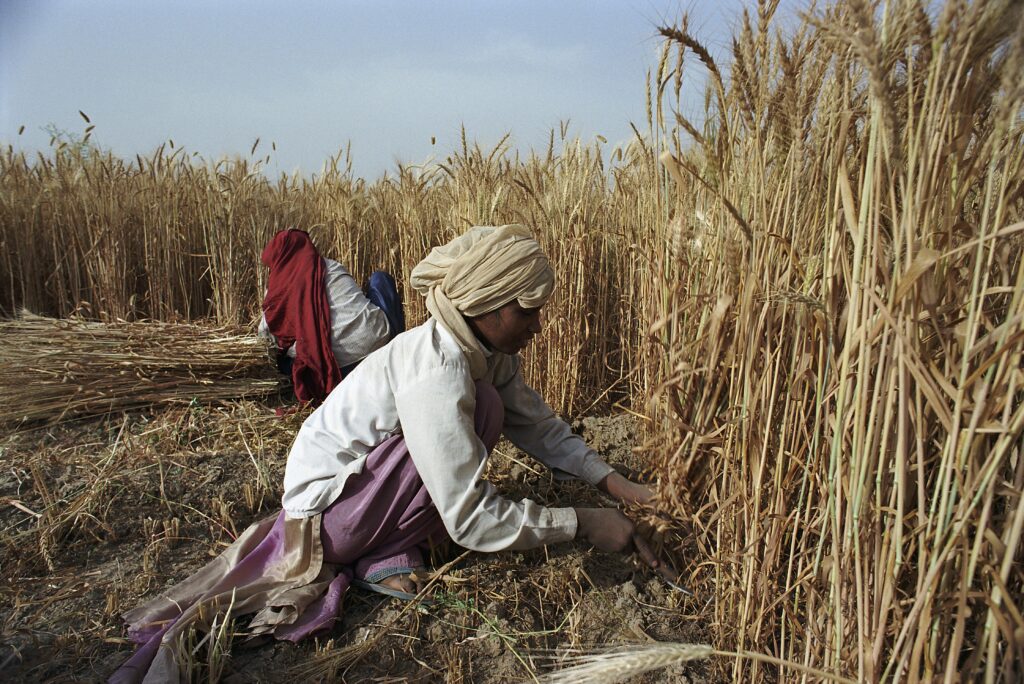
- Methods: Use a combine harvester for large fields, which cuts, threshes, and separates the grain. In smaller fields, manual harvesting with sickles may be an option.
- Post-Harvest Handling: After harvesting, grains need to be dried to a safe moisture level (around 12%) to prevent spoilage. Proper storage in cool, dry conditions also helps preserve grain quality.
Successful wheat cultivation depends on following each step carefully, from soil preparation to harvest. By understanding and managing the water, sunlight, and nutrient needs of wheat, farmers can produce healthy crops that contribute to a stable food supply.
